Disclosure : This post may contain affiliate links or paid partnerships. I may earn compensation if you click a link or make a purchase, at no additional cost to you. See my disclosure for more info.
The idea of a home sauna tends to arrive quietly. You notice the heat relaxing your muscles at a gym. You experience the silence of a good session. And then the thought surfaces: this could be at home.
The idea stays. Research begins. The research produces more questions than answers. The project gets shelved. This guide is designed to reverse that pattern. It covers what to plan, what to build, and what to expect — in the order those decisions actually need to be made.
What Holds Most People Back from Building a Sauna at Home
The construction itself is rarely the actual barrier. Most people can handle the work involved. The barrier is uncertainty about sequence. People research comfort accessories before resolving heat type. They price a sauna essentials package before knowing their room dimensions. When decisions are made out of order, confusion compounds. Make them in the right order, and the project becomes clear and manageable.
1. Choosing a Location — The Decision That Sets Everything in Motion
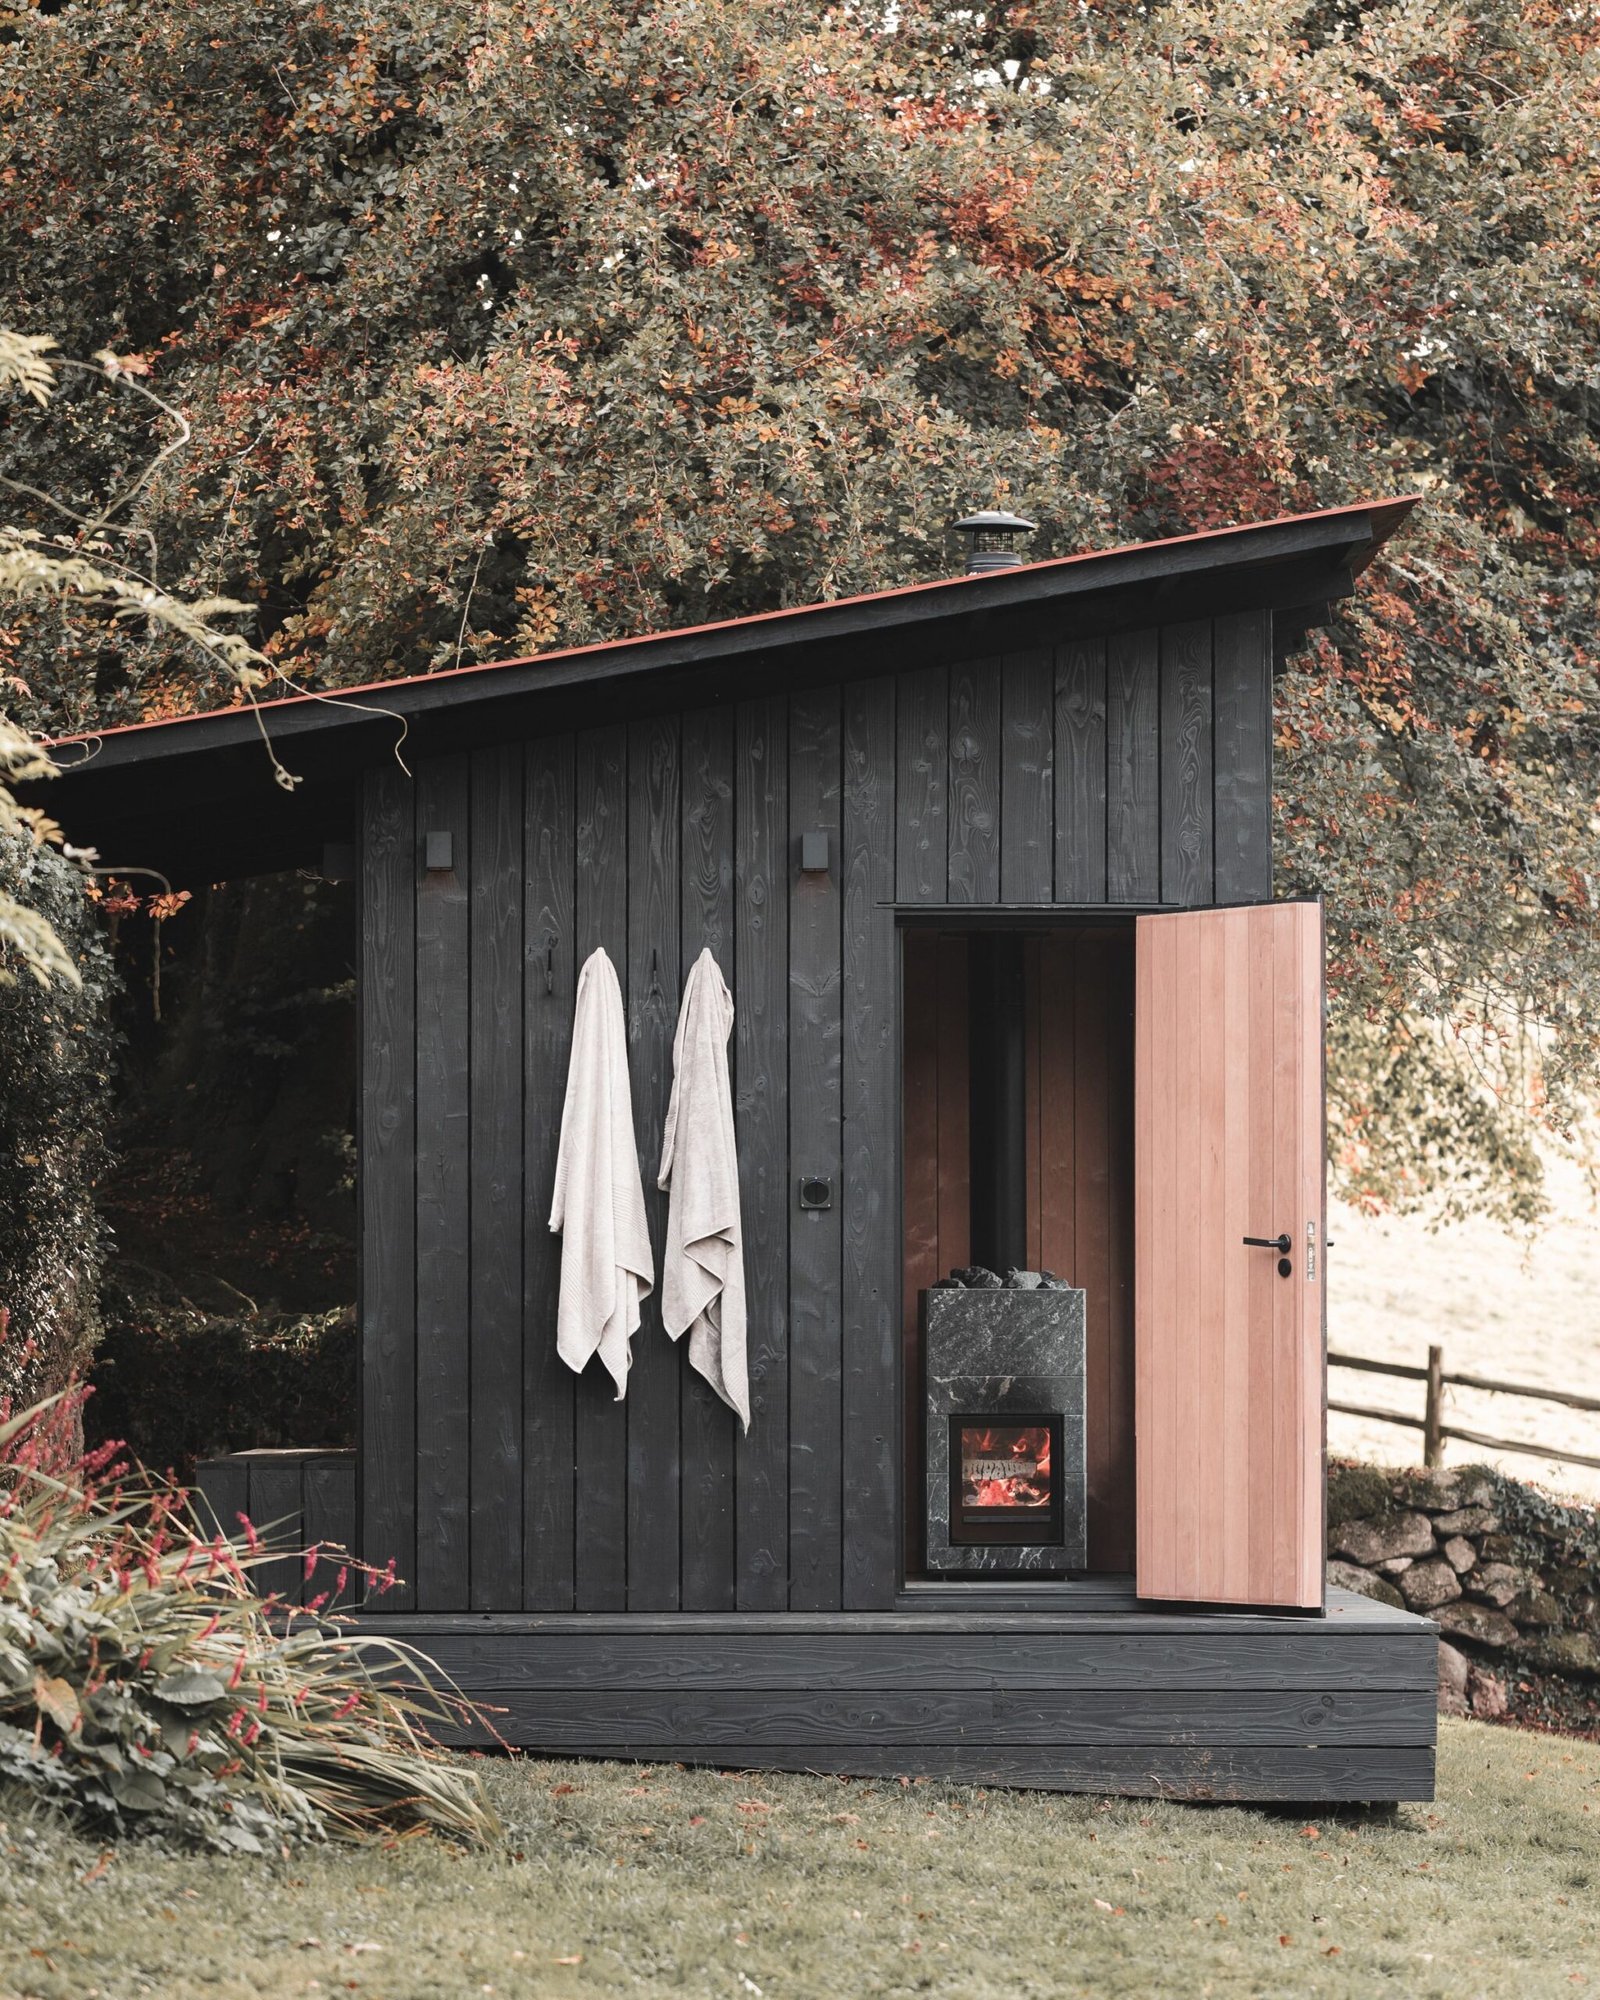
This is the first decision. Nothing else can be finalized until it’s made. Practical locations to consider: a basement room or an existing bathroom, a portion of a garage with electrical access, a freestanding outdoor structure, or a converted closet space for a small single-person infrared cabin.
Location requirements: proximity to a floor drain, accessible electrical service, and flooring that can handle repeated moisture exposure. Tile, concrete, and quality vinyl all qualify. Carpet is incompatible with sauna conditions. Consider the transition between the sauna and the cool-down area too — a nearby shower or outdoor access makes the ritual complete. Keep ceiling height at 7 feet or below. Heat accumulates near the ceiling. Additional height above that level serves no purpose and wastes heating capacity.
2. Heat Method — Weighing Traditional Against Infrared
This choice defines the character of your sauna and determines many downstream decisions. Make it with full information. Traditional sauna: A stone heater generates high heat. Water added to the stones produces steam. Session temperatures range from 150°F to 195°F. The construction requirements are more involved: dedicated high-voltage wiring, specific insulation standards, and a robust vapor barrier installation.
Infrared sauna: Panels radiate heat directly into the body rather than heating the air. Operating temperatures run between 120°F and 150°F. Lower energy consumption. A well-built 2-person infrared sauna can function on a standard residential circuit. Your choice affects lumber selection, electrical planning, insulation requirements, and ventilation design. Settle it early.
3. Dimensions — Matching the Room to the Purpose
Smaller, properly sized rooms outperform larger ones in almost every measurable way: faster heat-up time, lower operating cost, and a better overall session. Recommended dimensions by use: Single user: 3’ x 3’ for infrared, 4’ x 4’ for traditional — a compact 2-person traditional sauna fits this footprint. Two users: 4’ x 6’ provides adequate space without excess volume. Larger households: 5’ x 7’ — comfortable for groups without straining the heater. A 4-person indoor cedar sauna is sized for this range.
Heater capacity must be matched to room cubic footage. Every manufacturer provides this specification. Calculate your volume and select accordingly. An undersized heater will not reach target temperature. An oversized one creates a safety concern.
4. Wood — Species, Properties, and What to Avoid
Wood selection in a sauna context is a technical decision, not purely an aesthetic one. The wood must perform under heat and humidity cycles without releasing harmful compounds or becoming physically uncomfortable. Western red cedar is the most widely used sauna wood for good reason. It is naturally moisture-resistant, thermally stable, and comfortable against bare skin at high temperatures.
Acceptable alternatives: Hemlock — economical, low-odor, available in standard tongue-and-groove profiles; Basswood — recommended for those with scent sensitivities; Nordic spruce — common in European saunas and reliable under thermal stress. Woods to exclude entirely: Pine (resin bleeds at operating temperatures), oak (surface temperatures become painful to touch), and pressure-treated lumber (treatment chemicals are toxic when heated). Wall paneling should be installed horizontally in ¾” to 1” tongue-and-groove profile. Round every edge before installation.
5. Structure and Insulation — What Lives Inside the Walls
The thermal performance of your sauna depends almost entirely on decisions made inside the wall assembly. These elements are invisible once the paneling is up, which is why they are often under-considered. Framing: 2×4 stud construction, 16 inches on center. Insulation: R-13 fiberglass batt in walls; R-22 minimum in the ceiling. The ceiling is the highest-priority surface — heat rises and exits through a poorly insulated ceiling before it ever reaches the benches.
Vapor barrier: An aluminum foil barrier installed on the warm side of the insulation is essential. It serves a dual purpose: reflecting radiant heat back into the usable space and sealing the wall cavity against moisture penetration. No substitutes for aluminum foil barrier. Tape all seams with foil tape. Gaps in the vapor barrier allow moisture to migrate into the wall structure, where it causes long-term damage that is expensive to repair.
6. Ventilation — Airflow Is Not Optional
Adequate ventilation is required for both occupant safety and structural longevity. It is not an enhancement. It is a baseline requirement. Install two openings: a low intake vent near the floor on one wall (positioned close to the heater) and a high exhaust vent near the ceiling on the opposite wall, with a manual damper to regulate airflow. Fresh, cool air enters at floor level and is displaced upward by warmer air, creating continuous natural convection.
Without this exchange, carbon dioxide accumulates to harmful levels during sessions. Between uses, trapped moisture prevents the wood from drying, creating conditions for mold growth inside the structure. The openings are small in area but significant in function — do not skip or delay this step.
7. The Heater — Selection, Sizing, and Electrical Realities
The heater is the functional core of the sauna. Selection should follow room sizing, not precede it. Traditional electric heaters: The standard choice for indoor DIY saunas. Select a unit with panel-mounted or integrated controls. Kilowattage must match room cubic footage per the manufacturer’s published ratings. These heaters require a dedicated 240V circuit with 30 to 60 amp service. A unit such as the Harvia 6kW KIP provides a practical reference point for capacity planning.
A licensed electrician must complete all high-voltage installation. This is not optional. Incorrect wiring in this context is a fire hazard. Infrared heaters: Operate on standard 120V service. Simplified installation, lower operating cost, lower peak temperatures. A quality 2-person infrared cedar unit requires no special electrical infrastructure.
8. The Door — Outward Swing and Safe Latching
Two requirements define a proper sauna door: solid construction and outward-opening swing. The outward swing requirement has a safety basis: if an occupant loses consciousness, an outward-opening door remains accessible from outside regardless of the person’s position inside.
Tempered glass doors are widely used because they admit natural light and reduce the sense of enclosure in smaller spaces. A solid wood door with a glass panel is equally effective. Hardware must be a magnetic catch or roller latch only. No locking mechanism of any kind should be installed on a sauna door.
9. Lighting — Appropriate Fixtures for Extreme Conditions
Standard residential lighting is not rated for the sustained heat and humidity of a sauna interior. Installing it here is both a performance failure and a safety concern. Use vapor-proof, heat-rated light fixtures specified for high-temperature environments. Sauna-rated LED strip lighting is an alternative that provides warm ambient illumination while generating minimal additional heat.
Position all fixtures below the eye line or behind bench structures. The purpose of this room is recovery, not task lighting. Where compatible, a dimmer switch allows the lighting to be adjusted to the tone of each session without any structural modification.
10. Finishing the Interior — From Functional to Intentional
With construction complete, the finishing layer converts a well-built room into a considered sauna space. Bench layout: L-shaped configurations work well in most residential saunas. Upper benches receive more intense heat; lower benches offer a milder alternative. A solid cedar bench in the appropriate dimensions is the primary surface in the room. Backrest: A simple angled rest cut from bench material, or a pre-built sauna backrest for direct installation without fabrication.
Steam tools: A wooden bucket and ladle for introducing water to the stones in a traditional sauna. Monitoring instruments: A combined thermometer and hygrometer positioned at seated head height on the wall facing the heater. A sand timer for session duration without electronic devices. Floor finish: Hard surface beneath, with a removable slatted wooden floor mat for comfort and drainage management.
11. Curing the Wood — A Necessary Step Before the First Use
New construction wood retains moisture that must be driven out before the sauna is used for sessions. Heat the sauna to approximately 140°F and maintain that temperature for one to two hours, opening the door briefly every twenty to thirty minutes. Repeat this two to three times over consecutive days. The curing process stabilizes the wood’s moisture content and allows natural resins to settle. A notable wood aroma during curing is normal and temporary.
Once curing is complete, run the heater to your intended operating temperature. If you have a traditional sauna, add water to the sauna stones and allow the room to reach equilibrium before your first session. The room is ready. So are you.
A Simple Plan. A Few Weekends. A Sauna That Is Yours.
The project is less complex than most people expect. What makes it feel complex is the absence of a clear order of operations. You now have that order: Location, heat type, size, wood, insulation, ventilation, heater, door, lighting, accessories, curing. Each decision prepares the next one.
A home sauna is a durable, daily-use investment in rest and recovery. It does not require a large house. It does not require a contractor for most of the work. It requires a plan, the right materials, and a few focused weekends. You have the plan. The rest follows from here.
🔍 Focus Keyphrase: home sauna DIY
📌 SEO Title: Home Sauna DIY: Build One Yourself — Complete Guide
🔗 Slug: home-sauna-diy-build-one-yourself
📝 Meta Description: A clear guide to planning and building your own home sauna. Covers location, materials, heat type, insulation, and all finishing details. Build with confidence.